

Overlanding blends adventure and self-sufficiency, but outfitting a vehicle without careful planning often leads to frustration instead of freedom. Many newcomers rush into upgrades chasing style or novelty, only to face overloaded suspensions, mismatched tires, and tangled wiring that strain both reliability and budget. The true key lies in thoughtful preparation, not rapid accumulation.

Every modification shifts a vehicle’s balance, affecting safety, handling, and long-term durability. Even small errors compound on extended trips, where performance and organization matter most. Taking the time to identify real travel needs, test equipment on shorter runs, and refine step by step turns outfitting into a rewarding process rather than an expensive learning curve.
Buying Gear Before Defining Real Trip Needs
Many first-time overlanders fill shopping carts with gadgets before knowing how they’ll actually travel. Tents, tools and electronics may seem essential, but without considering route types, group size or trip duration, most purchases end up unused. Extra weight reduces fuel efficiency, stresses suspension, and exposes mismatches when the vehicle is fully loaded on rough terrain.
A smarter approach is incremental: add one upgrade, test it on a short overnight trip, and keep only what proves useful. Begin with essentials that balance safety and practicality, such as a recovery kit rated for your vehicle, modular storage for organization, and quality tires with proper load ratings.
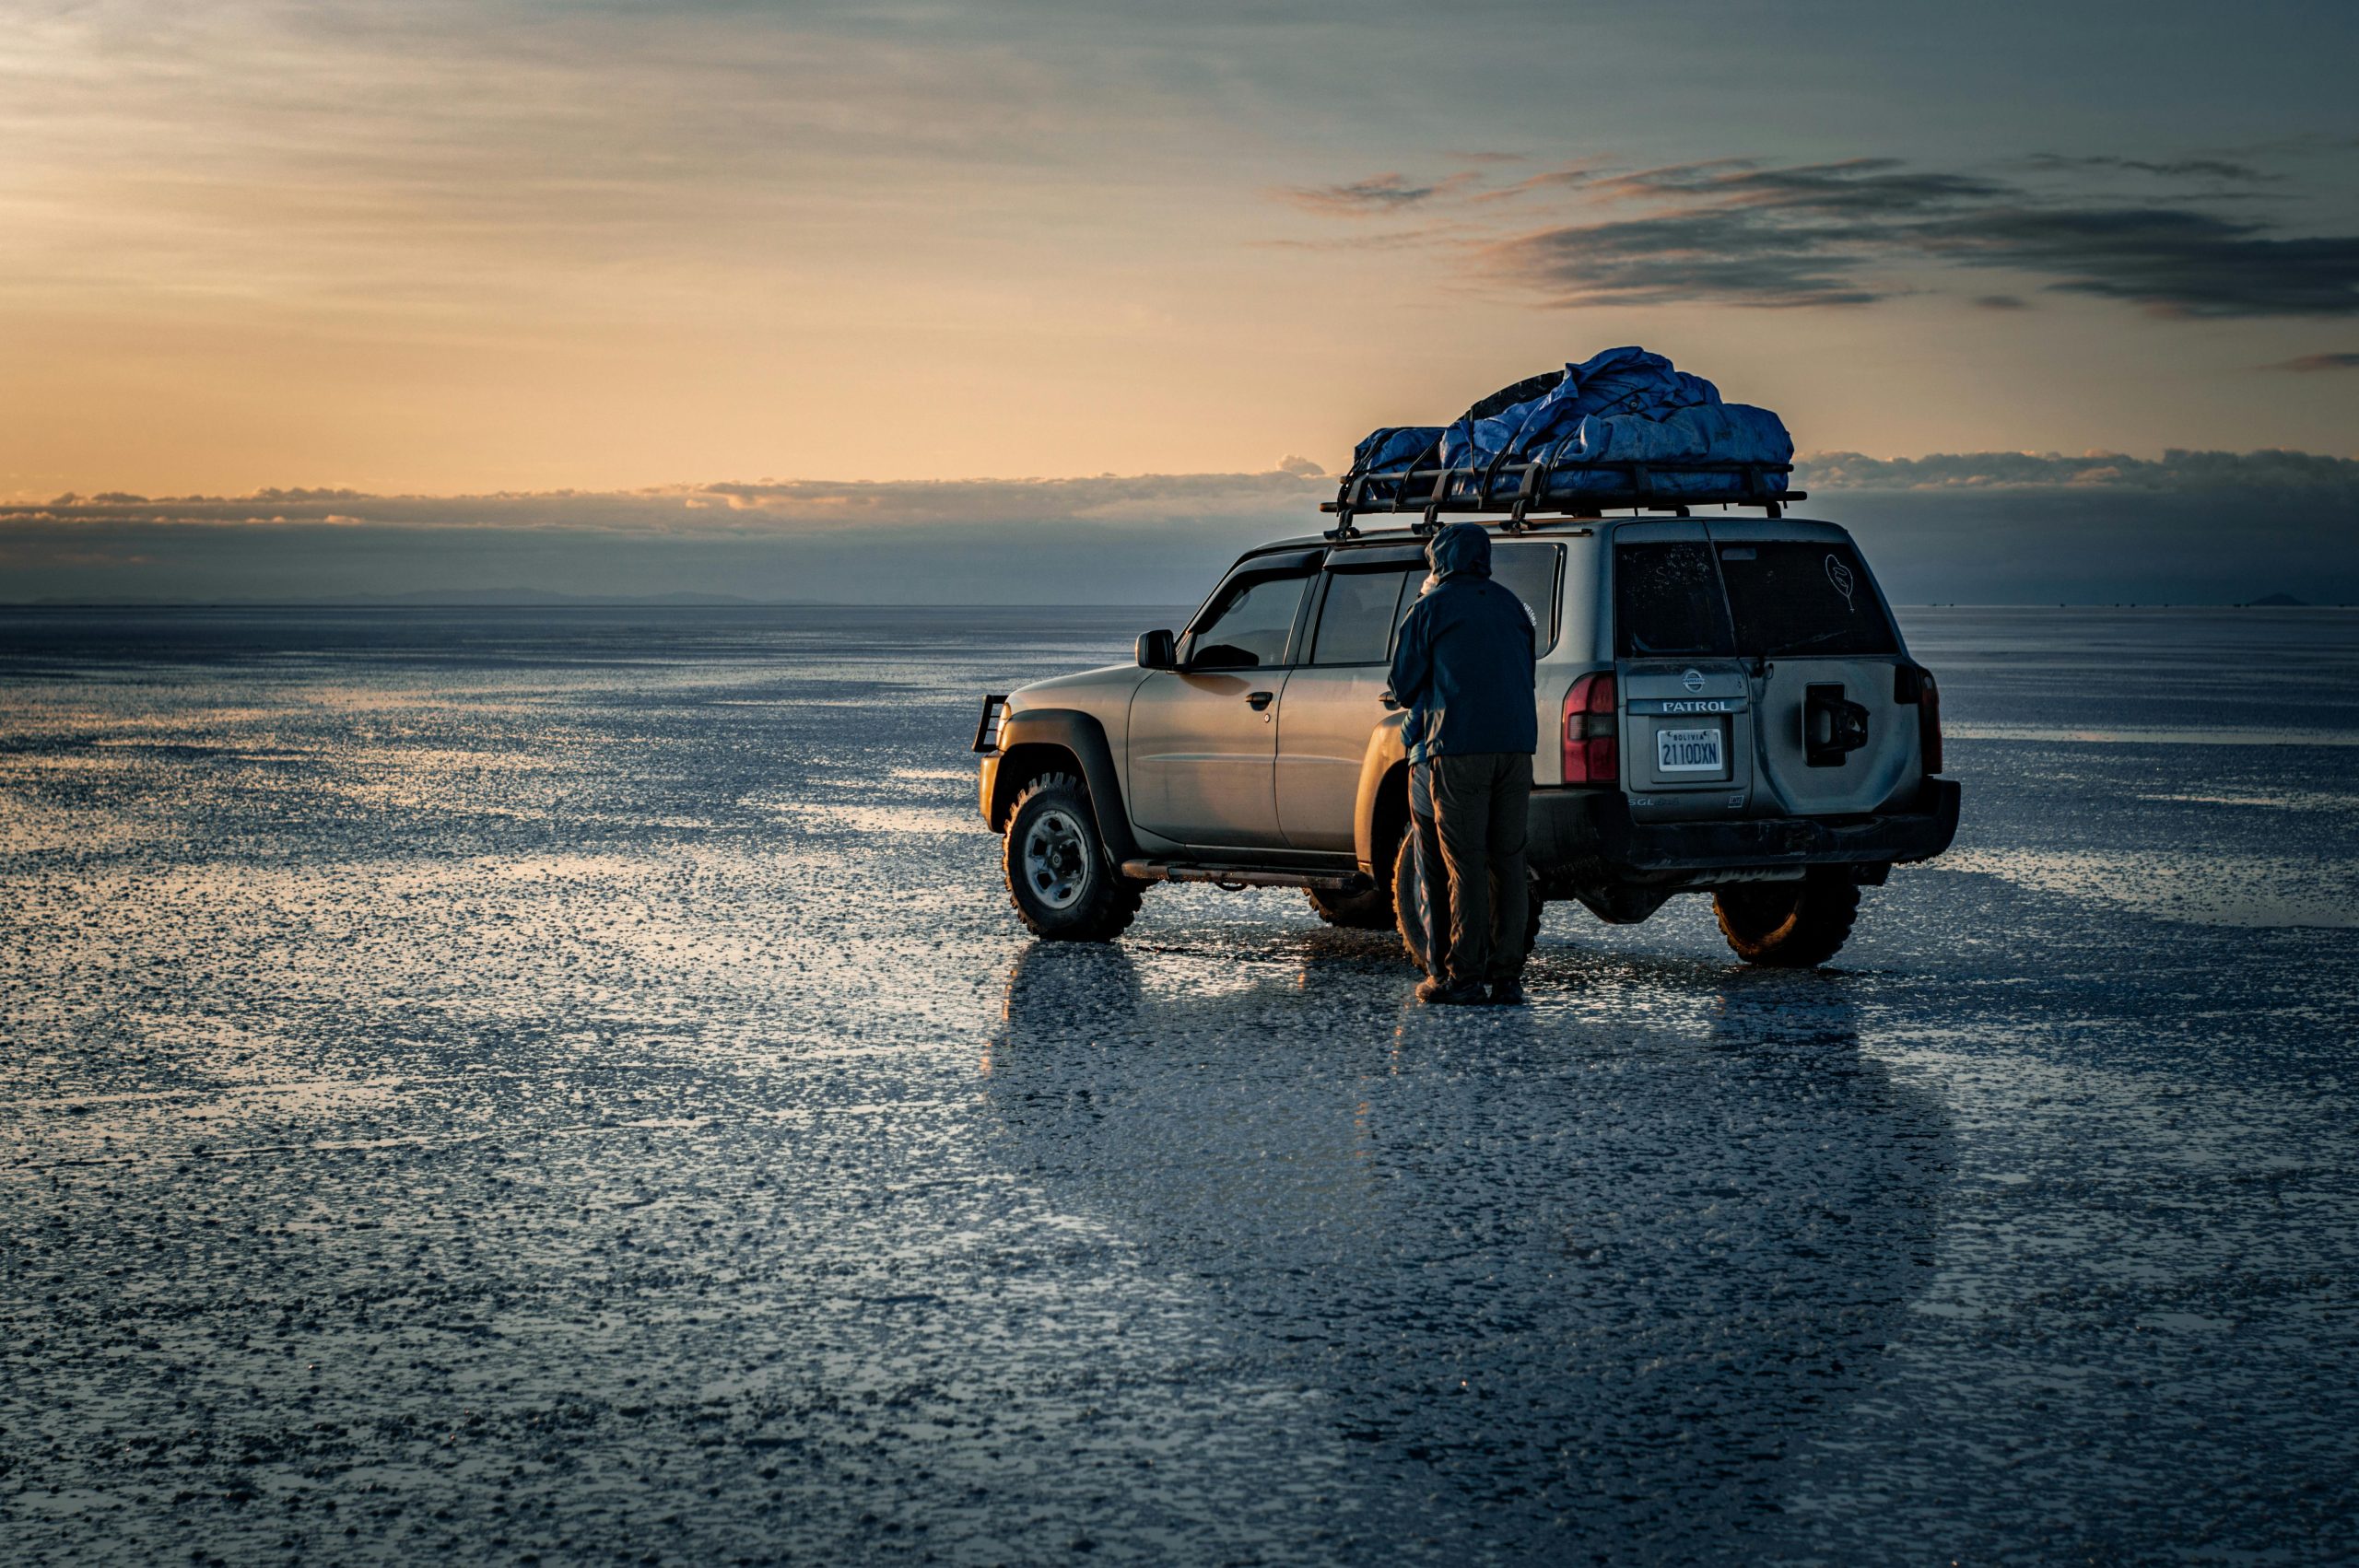
Choosing Tires and Wheels for Looks Instead of Fit
Selecting tires and wheels for appearance often creates problems once the terrain gets rough. Oversized rims or aggressive tread patterns look impressive but can reduce clearance, stress suspension, and generate excess road noise. Low-profile tires pass more shock to the cabin, while mud-focused tread quickly ruins fuel economy and ride comfort on pavement. Even a subtle miscalculation in wheel offset can cause binding or premature brake wear.
The better approach is function first: choose tread based on expected terrain, confirm load ratings exceed the fully packed vehicle weight, and check clearances under suspension compression. Matching components to purpose delivers durability, balanced handling, and confidence across both highways and trails, while details like black rims can still add personality without sacrificing performance.
Overloading Stock Suspension With Extra Weight
A vehicle’s suspension is engineered for factory loads, not the additional strain of tents, storage drawers, and water tanks. When stock coils and shocks sag, ride quality suffers, braking distances increase, and components wear prematurely. Symptoms often appear as uneven tire wear, leaning corners, or harsh bottoming on uneven ground. Left unaddressed, the imbalance compromises both comfort and safety.
Upgrading to progressive-rate springs, monotube shocks, and reinforced sway links better supports added weight. Positioning heavy items close to axles maintains stability, while weighing the vehicle at a public scale reveals actual axle loads. Matching hardware to those figures preserves handling and extends component life, keeping the vehicle dependable under real travel conditions.
Wiring Accessories Without Planning Power Needs
Improper wiring is one of the most common hidden failures in an overland build. Stretched jumpers, undersized fuses, and poor grounds may work temporarily, but they often lead to dead batteries, unreliable electronics, or even electrical shorts in remote locations. Each accessory draws from a limited power system, and mismatched connections quickly create cumulative problems.
Planning ahead makes the difference. Start by calculating total draw against alternator and battery capacity, then dedicate each circuit to its own fuse. Use marine-grade wiring, secure routing away from heat or moving components, and label both ends for clarity. A tidy, documented layout not only prevents failures but also makes troubleshooting far easier in the field.
Skipping Practical Organization for Daily Use
Disorganization in an overland rig wastes time and creates frustration when equipment is needed most. Piling gear into bins without thought often leads to digging for essentials at dusk or misplacing key tools. Beyond inconvenience, unsecured loads can shift during travel, damaging items or affecting handling.
Practical organization means dividing gear by frequency of use. First-aid kits, gloves, and flashlights belong near the cab or tailgate; cooking equipment fits best in central drawers; rarely used spares should be secured low and tight. Clear labeling, modular bins, and tie-downs speed setup and pack-down. With a well-structured system, every item has its place, making travel safer and more efficient.
Success on the trail comes from deliberate preparation rather than impulsive upgrades. A vehicle built step by step performs reliably on both highways and remote routes, reducing stress while expanding travel possibilities. Careful choices in tires, suspension, and electrical systems protect both safety and budget, while organized storage saves time and energy at camp. Each improvement should prove itself on short excursions before becoming permanent. Small adjustments today prevent expensive breakdowns tomorrow. With thoughtful planning and steady refinement, an overland rig becomes a dependable partner capable of carrying adventures as far as the horizon allows.

